

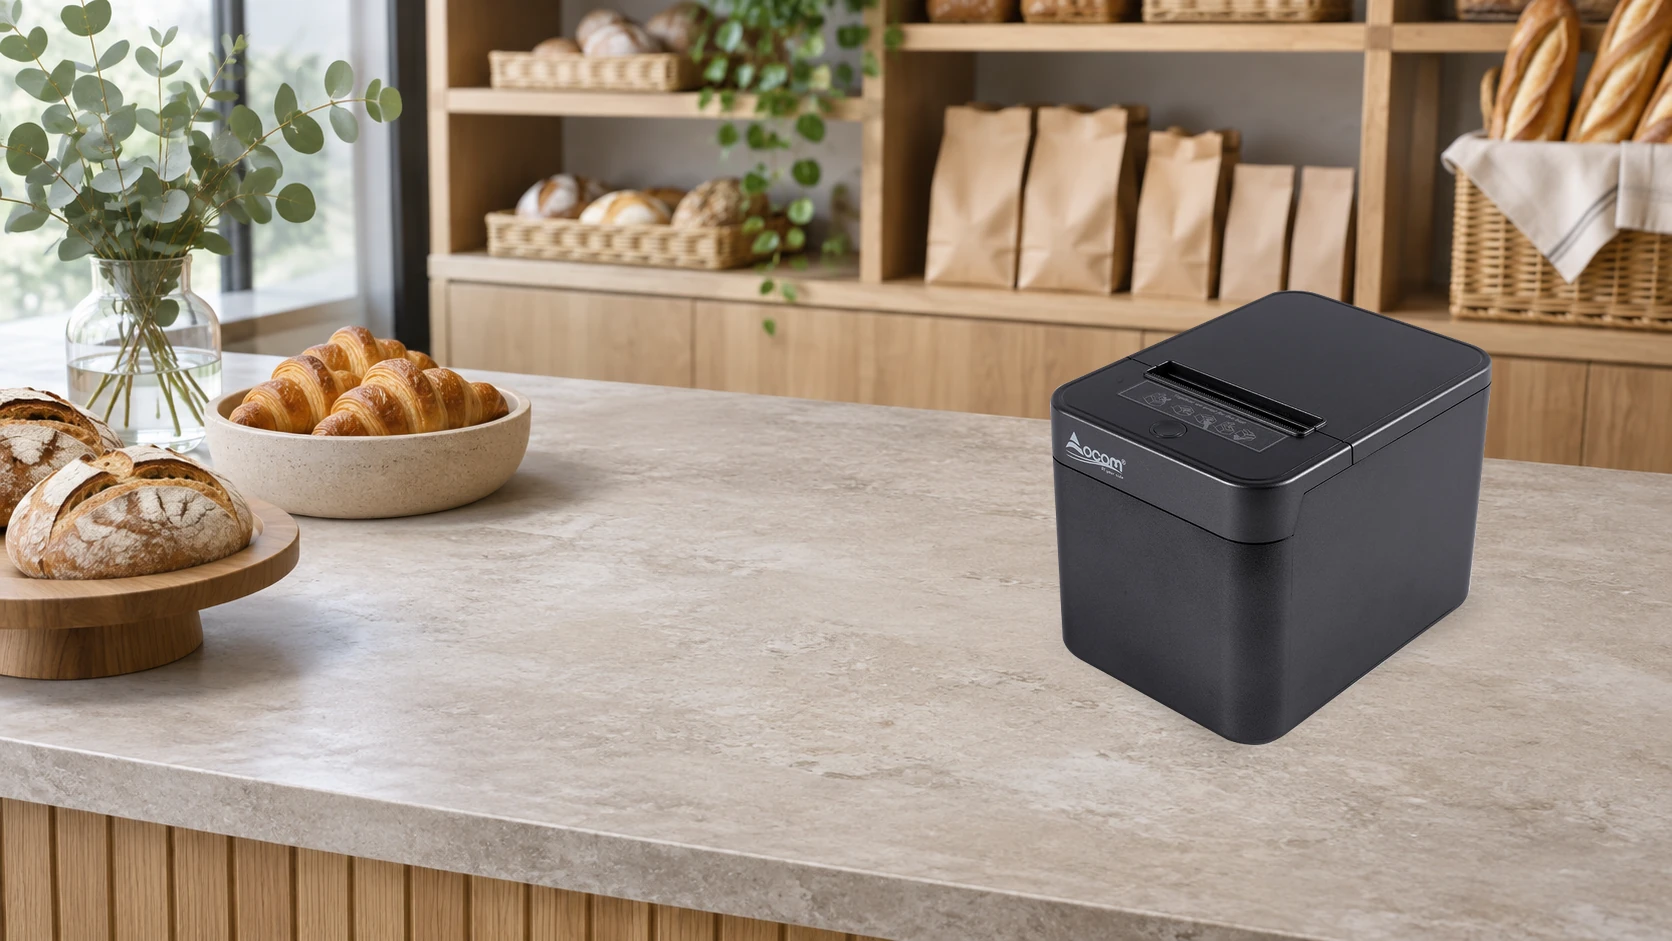
Before ordering Ethernet receipt printers for a store rollout, agree on the application’s print route, the exact interface variant and the network configuration. Put those details in the sample approval record so the installation team can reproduce the setup at each location.
Two user discussions show where projects can stall. An Odoo implementer evaluating printers found that direct printing depended on the supported integration route. In a ToastPOS troubleshooting discussion, different POS devices reached different printers, and manual addressing produced printed tickets while an offline warning remained. These are useful prompts for procurement: confirm the software connection and verify each sending device’s behavior.
01 / APPLICATIONConfirm how the application sends print jobs
Ask your software partner to name the supported printer model or integration method, the required firmware and the software component responsible for printing. The answer might involve a native application, a local print service, an IoT system or a supported printer API.
Odoo 19’s receipt-printer documentation, for example, distinguishes direct network ePOS printing from ESC/POS printing through an IoT system. Epson’s ePOS SDK documentation describes browser printing to supported ePOS-Print TM printers. Have the integrator confirm which route your application uses before selecting the interface option.
Include browser or operating-system permissions in that confirmation where relevant. Odoo’s current guide also calls out local network access for browser communication. Record who configures those permissions and any required local software during installation.
02 / HARDWARESpecify the complete interface variant
Write the printer model and interface combination as separate fields in the quotation. For the OCOM OCPP-812, the internal specification lists USB, USB+LAN, USB+Bluetooth and USB+Wi-Fi options. An Ethernet deployment should identify the USB+LAN configuration explicitly.
Ask for the matching rear-panel photograph, power supply and included cables. Confirm any settings utility, driver or SDK your integrator requires. Keep the approved firmware information with the sample record so the production configuration can be checked against it.
03 / NETWORKAgree on addressing and access
Assign responsibility for the printer’s network settings before shipment. The store’s network administrator should define the addressing method, subnet and any access rules between POS devices and printers. If the application stores a printer IP address, agree on a method that keeps that address consistent, such as an approved router reservation.
Loyverse’s Ethernet setup guide connects a supported printer to the router and uses its address in the POS settings. Its troubleshooting guide also checks the subnet and specifies port 9100 for Loyverse’s Ethernet printer communication. Use the connection requirements documented for your own application.
Print and retain the printer’s network configuration report using the model’s instructions. Match its current settings to the application record. For a store with separate staff, guest and device networks, ask the administrator to verify access from the actual POS network during commissioning.
Record the complete print route
Deployment worksheet / conceptual route
04 / ROUTINGMap every sending device to its destination
Create a simple station map: which till, tablet or handheld should send which document to which printer? Give each destination a clear operational name, such as “Front counter receipt,” and associate that name with the installed device record.
During sample acceptance, send jobs from each intended POS device. Check the physical destination, ticket count and application status after printing. For shared printers, include jobs from multiple sending devices using the workflow supported by the software. Agree on how staff distinguish a reprint from a new transaction.
05 / RECEIPT CONTENTApprove the actual receipt layout
Use a representative receipt from the intended store: long product names, discounts, tax lines, local characters, the logo and any required barcode or QR code. Check line wrapping, legibility, cutting and scanning with the equipment used in the project.
Confirm paper width and printable width separately. The OCPP-812 specification lists 72 mm print width and an optional 58/80 mm paper arrangement. Ask OCOM to confirm the required paper configuration and language support on the quoted variant. Save the approved print template with the sample output.
06 / SERVICEPrepare the replacement and handover record
Give the installation team a short record they can use when replacing a printer. Include the station name, model and interface, firmware details, network identification, approved address settings, application destination and the person responsible for changes.
| Sample check | Record before rollout |
|---|---|
| Application setup | Version, print route, required components and permissions. |
| Network configuration | Printer identity, addressing method, access rules and support owner. |
| Station routing | Sending devices, destination names and expected ticket count. |
| Receipt output | Approved template, paper configuration and checked characters or codes. |
| Replacement procedure | Steps to configure a replacement, update its destination and verify a test job. |
Walk through a replacement with the integrator during commissioning. Verify the physical output and the application’s displayed status together, then include the agreed steps in the store handover.
07 / PROCUREMENTSend a quotation request the team can act on
Send OCOM the POS application and version, operating system, proposed print route, required interface combination, paper width, languages, installation country and expected quantity. Attach a sample receipt and the station map, then ask your software partner to approve the integration plan.
For an OCPP-812 project, request the USB+LAN configuration and supporting technical material for sample evaluation. Use the broader POS hardware compatibility checklist to coordinate the printer with the rest of the checkout hardware.
Send OCOM your application and printer requirements so the quotation, sample and installation plan refer to the same configuration.
Sources
Original user discussions and official software documentation are linked beside the relevant sections. Hardware details use the OCOM OCPP-812 internal specification. Sources reviewed November 9, 2026.